
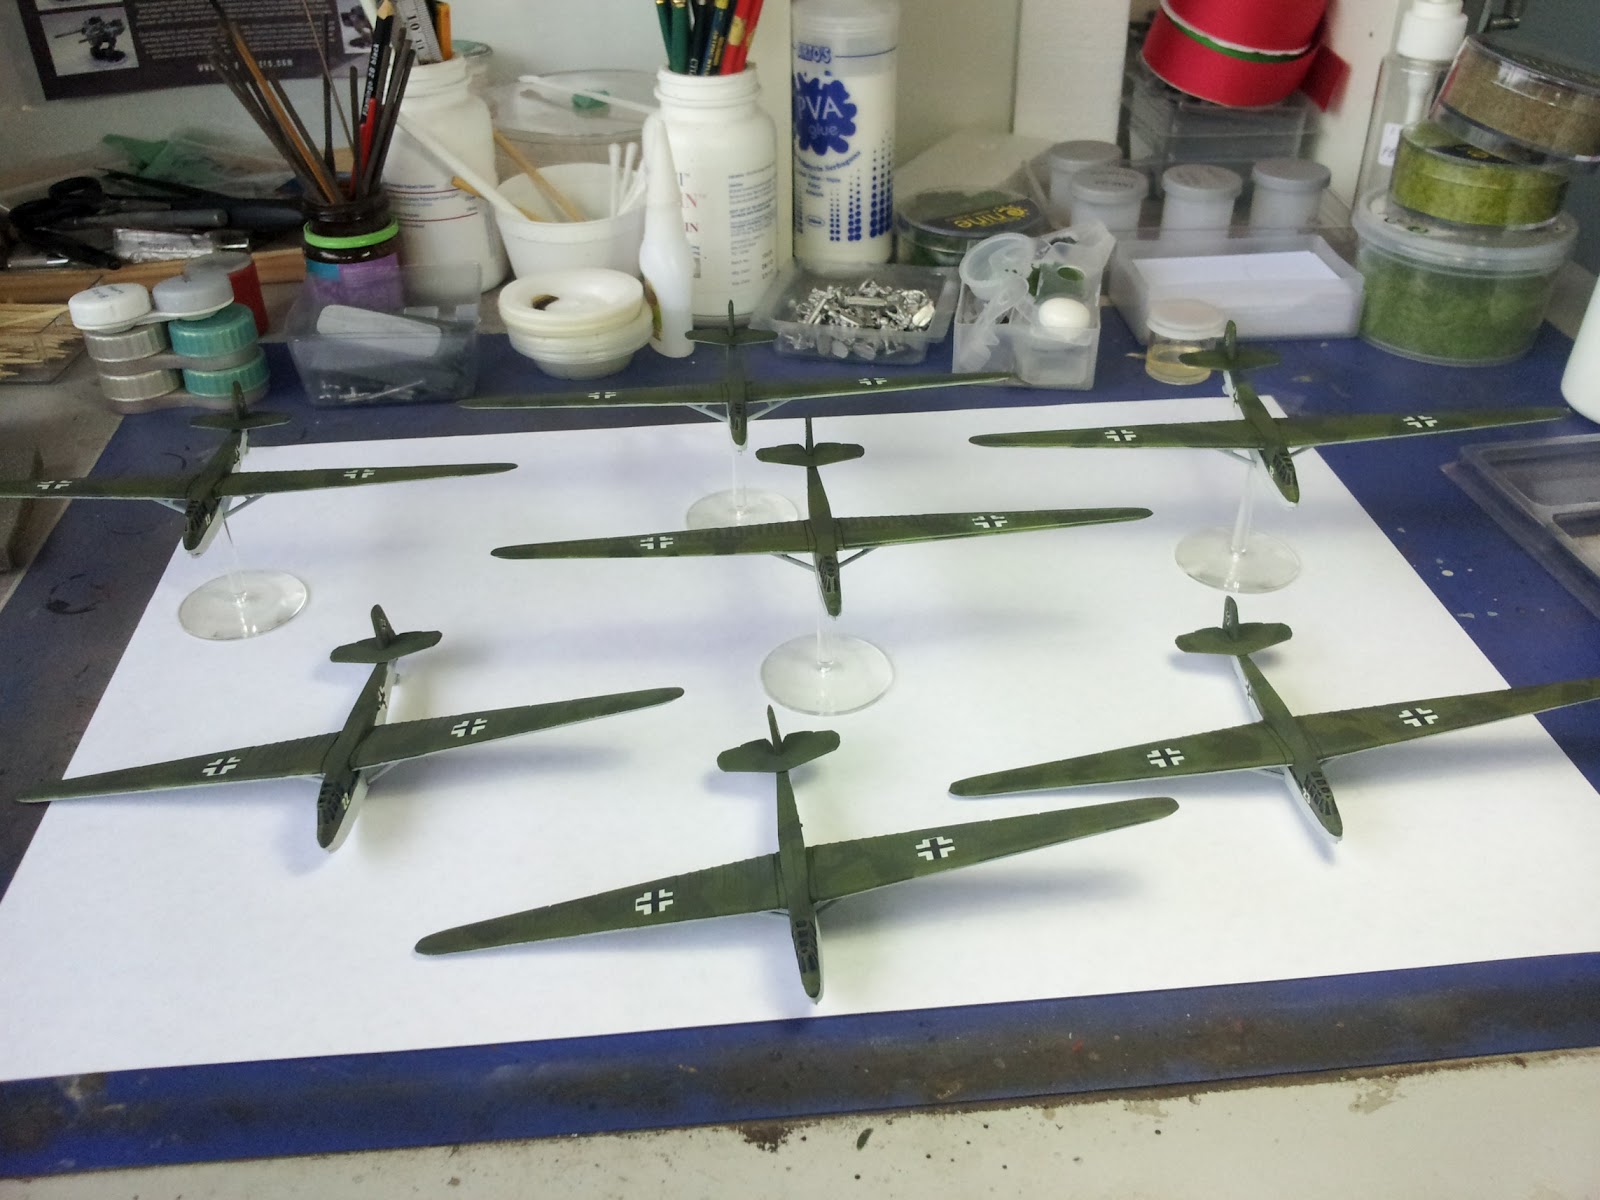
Seeing as how these 10 assault gliders will the main attraction when I display my army prior to deployment, its only fair they get a post on how i painted them up. First off, these gliders are really nice models. Details are crisp, very easy to build up.
Excuse some of the low/dark pictures...used my handphone again when the camera was unavailable.

Not showing it here but i first primed the model with Vallejo grey primer, airbrushed directly from the bottle. Then airbrushed the underwing and fuselage with vallejo model color 907 pale grey blue.
Once dry, i start with masking these area off. You'll notice :
1/ i'm using normal masking tape which you can buy at any arts shop. The cheap stuff basically. Just make sure to stick it a couple of times to a slighty dusty surface to lessen the stickiness. In my hobby room, dust is aplenty :)
2/ i didn't assemble the wing struts to the wings and fuselage. This is so it'll be easier to mask the fuselage and underwing area.

Then 2 layers of vallejo 890 reflective green. For camo schemes i've always sprayed on the lightest color first followed by progressively darker ones. This will ensure that light colors remain light and don't end up looking a bit darker.
Now comes the fun/tedious part. Masking the camo. Tedious but its gotta be done to get that effect. This is how i do mine.

Same cheap masking tape. Stick some to the cutting mat and draw shapes on it. The gliders camo scheme are geometric straight lines so i just used my imagination and drew some. Might not be historically correct but it's not my objective. Its for gaming after all.

Then the last color to be sprayed on, 979 german camo dark green.


Presto!! Camoed gliders :) Now i fix the wing struts and paint them pale grey blue.

For those interested to know how i store my gliders, a simple solution that i've used when transporting aircraft models to painting competitions.


Cheers all. Hope you had a good weekend.


Awesome, thats a creative way to handle fragile/easy to break model's transport =)
ReplyDeleteVery cool post all round! =)
ReplyDeleteThat is a VERY cool post- I love how you're transporting your planes. Economical solution to be sure!
ReplyDeleteIt goes without saying that your tute is sweet as well. We should get it on video one of these days! ;)
Thanks guy :)
ReplyDeleteJeff- yeah...i need to get off my lazy ass and start taking videos this weekend. No excuse...hold on..its Raya..next week then hehe.
Great Guide and tips!
ReplyDeleteMakes me really want to do EW FJ's.... to many projects...