Thursday, May 9, 2013

Purple Worm completed

And this is how my Purple Worm turned out. All paints used were from the Army Painter Mega Set I mentioned in my last post.
This was how the worm looked like after completing the basecoat.
I didn't have the Army Painter Quickshade so I used the Quickshade inks available in the Mega paint set. I  used all 3 tones provided for different parts of the worm. This is how it turned out.
And after a reasonable amount of basic drybrushing...
My acid test for something is rather simple...kinda ..would I buy it again? Would I use it again? Would I watch a movie or series again? etc
So for the Army Painter paints, my personal opinion is Yes, I would get and use it again. In fact, I'll use it for my Skaven project later this year.

My most sincerest thanks to Bo of Army Painter for hooking me up with the Mega Paint Set. Truly appreciate it. Hope your venture grows and continue to grow :)

Thanks all for tuning in. Cheers.

Thursday, May 2, 2013

The Army Painter Warpaints


What's the best medicine to get out of a hobby rut??? Different things for different folks I guess. Fortunately for me, mine came in the form of a set of paints to test out. How totally cool is that!!

So first of all, my most sincere appreciation to Bo of The Army Painter for graciously sending me a set of their Warpaints Mega Game Set :) It's like getting an early birthday gift. This set comes with 32 colors, 3 inks and a matt varnish which they call Anti-Shine. Cool name for a varnish huh. There are also 6 brushes and the best item in the box for me....the Wargamers Army Painting Guide.

I consider myself relatively new in the miniatures wargamming hobby (less than 5 years) and this painting booklet would have been a great help when I first started. 

I'm so impressed with how easy they've demonstrated on how to paint up a model that I've decided to paint one up following their recommended steps and of course using just things from this box set. This is what I'll paint up. The really nice D&D Purple Worm resin model from Gale force 9.


The Army Painter 4 steps are :

1. Spray - basically this is the priming stage;

2. Basecoat with Warpaints;

3. Quickshade; and finally

4. Anti-shine.

This is where I'm at so far. 


Clearly still a lot to do so stay tuned :) Cheers all

Tuesday, April 23, 2013

Planes, planes & planes

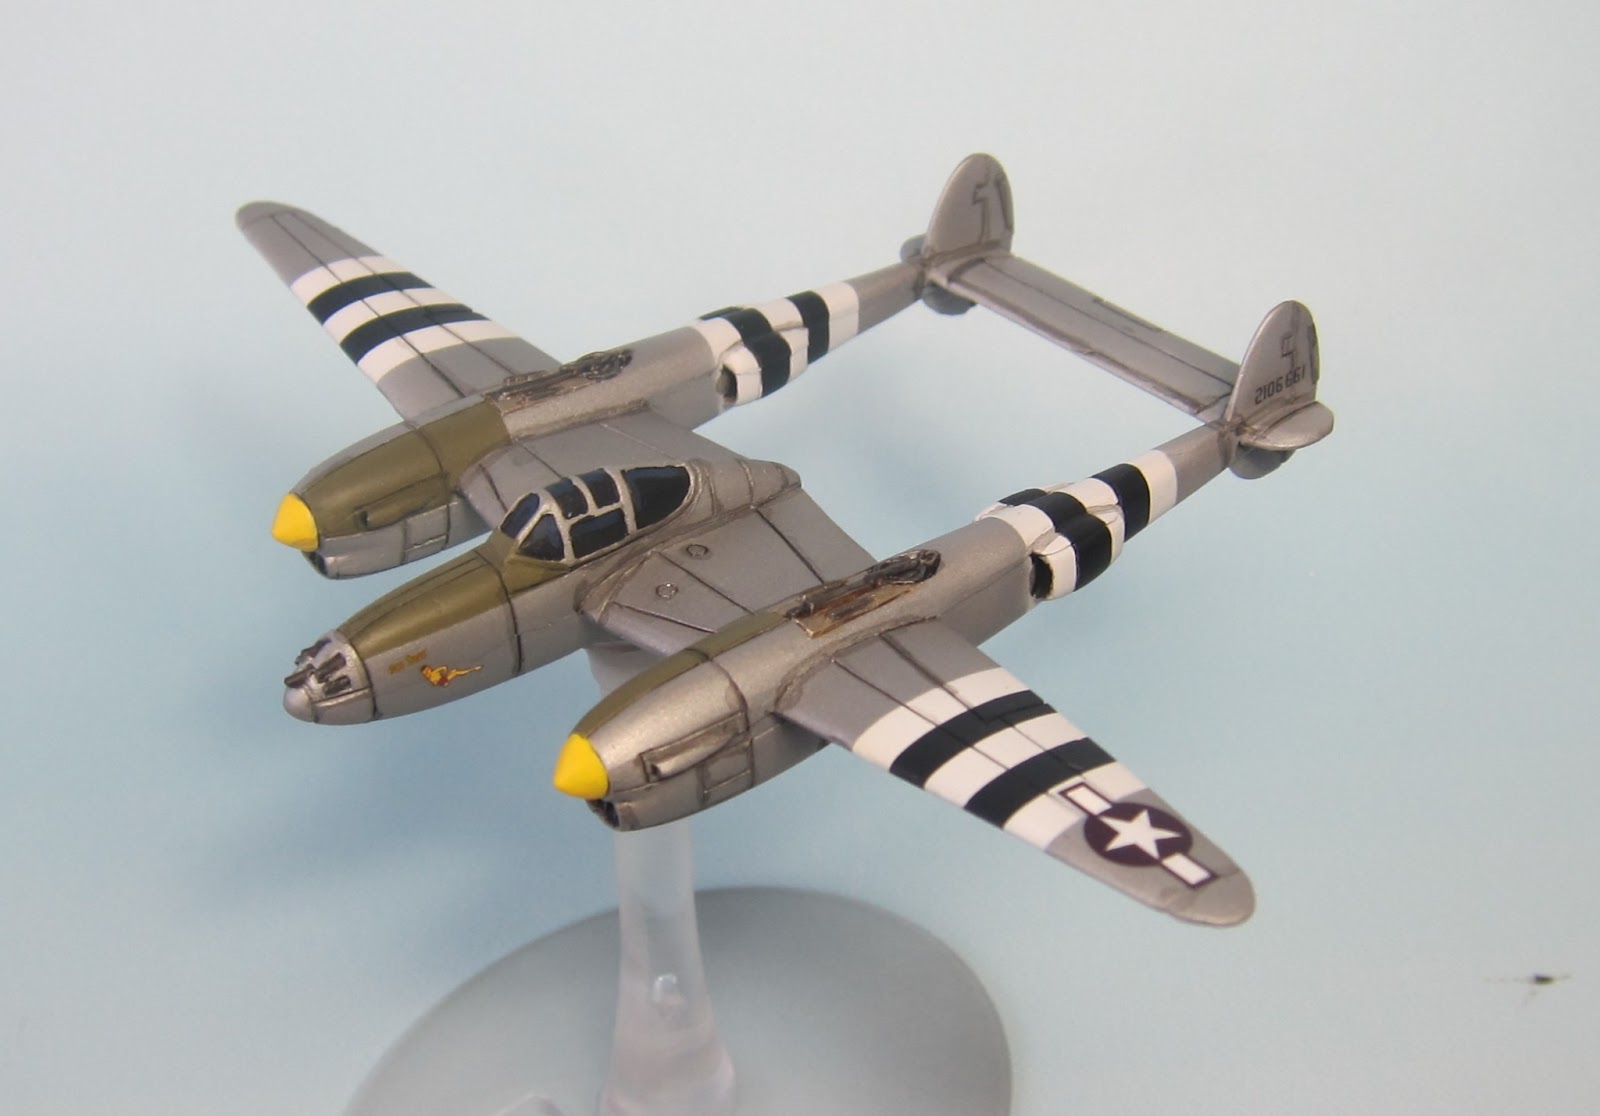
Kind of in a hobby rut at the moment but I did manage to paint up another P-38 just because I really love the shape of it. Unfortunately, I didn't have the appropriate decals for the fuselage at the time to complete it. Otherwise I'd have preferred this paint scheme to be the box art. Ahh well....
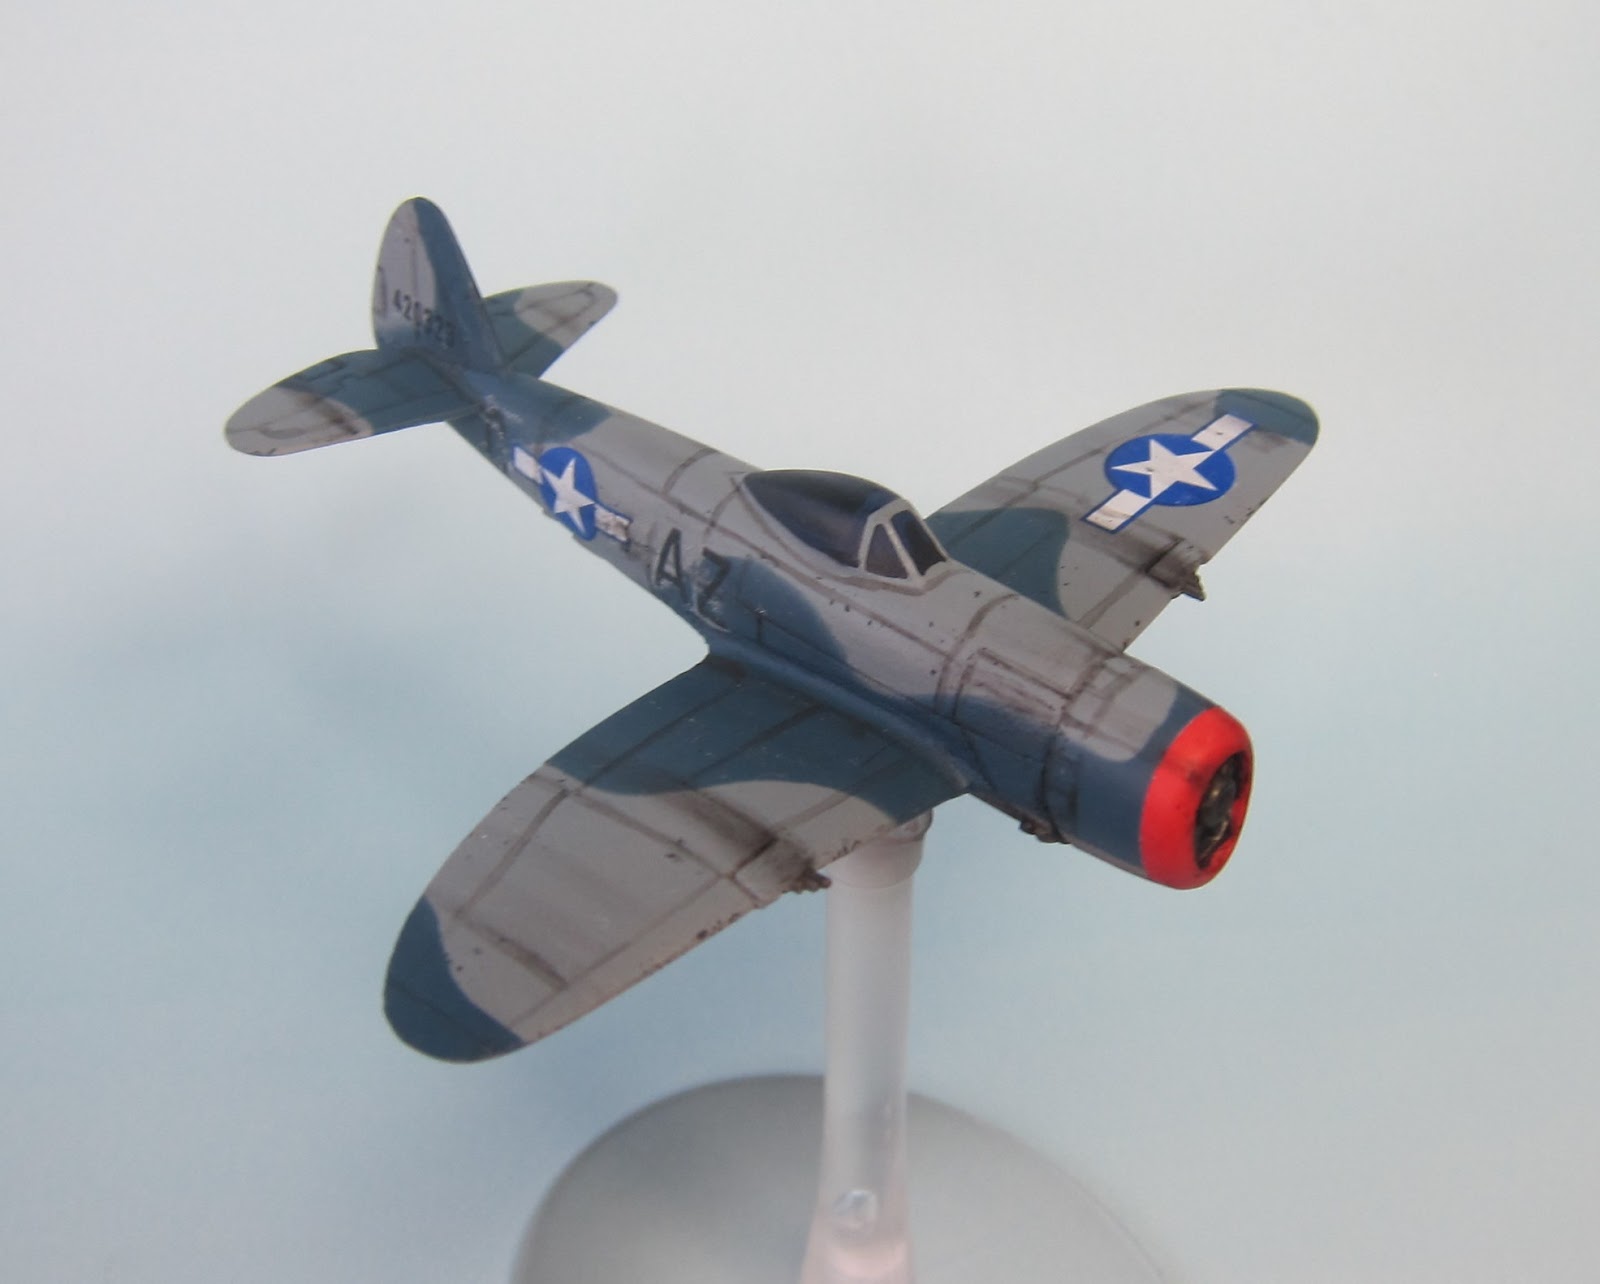
These I painted a while back. Now I've got a sizable collection on my table :) 
Thanks for tuning in. Cheers guys. I'll try to post something more interesting next time...

Monday, April 15, 2013

Flames of War P-38 Lightning

How do I even start this post? Hmmmm....
Thank you to Jeff Brooks for suggesting to the powers that be that this plane that I painted was good enough to be the box art. Had only meant for it to be displayed on my work table.
Thank you to the powers that be for deciding it was actually good enough to be the box art.
And super thanks to Sean Goodison for taking these fantastic pictures. They're really great pictures and I'm honored by his work.
To all you Flames of War and WW2 aircraft fans, here's a sneak peak at the next release by Battlefront. The super sexy (my second favorite plane after the P-51D) Lockheed P-38 Lightning. Yup, someone has answered your prayers and this plane will be coming to a store near you soon.
And if I haven't mentioned already, the plane on the box cover art was painted by yours truly :) hehe.

Am truly honored and humbled.

Thank you everyone :)

Saturday, February 16, 2013

Imperial Fist Contemptor Dreadnought

Finally got this contemptor dread done last Thursday and I must admit this is my favorite model I've painted so far :). I'm really happy with the pose that I chose as it shows off the contemptor's fleet USR.
I knew from the start that I wanted a dynamic pose and after doing some research online I stumbled upon GreatGunz and immediately feel in love with how he did his contemptor. Check out his beautifully painted Ultramarine contemptor here;
thewarmastersrevenge 
I like how the dread looks imposing moving forward. I made some tweaks to mine by having the dread be a bit more upright and have the left hand with the heavy flamer pointing forward. All credit to the warmaster for the pose idea.
And for added effect, I added some flames :) 
Another hensem guy who deserves credit for helping me with this project is my good friend Rizal who helped me with the bases. The simplicity with how he manages them is mind boggling to me....coz I'm just lazy haha. Thanks bro for the help. You da man!!!

And for my efforts, the contemptor managed to bag second placing in our Throwdown last night :). Icing on the cake for a project I thoroughly enjoyed doing.

It's been awhile since I've truly enjoyed painting up and model and this is one of those that didn't feel like a chore or project I had to get done. So much so that I think I might build another one. My brother did mention that he'll give me his to paint up...well, if he doesn't insist that I paint it up in "grey knight" or death guard scheme, I might take him up on that offer :). Thanks bro.
 Thanks for tuning in. Cheers everyone.

Wednesday, January 30, 2013

Pre heresy Imperial Fist Legion Breacher Siege Squad uncompleted


I know it's cliche but  the saying goes 'if you fail to plan then you plan to fail'. And that's what I did with this squad. Underestimated the time it would take to make my own boarding shield and reposition the hand holding the shield. This was further compounded in me not being able to make full use of the long weekend just last week. Excuses, excuses I know. Resulting in yours truly will be failing to present this squad at this week's second Legio throwdown.
And since this squad won't make it on time and the mood to paint them up has withered....into the box of doom they go. Hopefully I'll find the motivation to paint them up someday but it's highly unlikely. I'll have moved on to newer projects by then :). Painter's fickleness and all.

My best to all the other throwdown participants and look forward to seeing their work this hobby night. All the best everyone!!

Sunday, January 20, 2013

Pre Heresy Imperial Fist Legion Tactical Squad completed


Managed to get these guys done in time for the 1st Legio Malaysia Army Throwdown which was held last Friday 18th. There were 11 others who managed to get their first troops choice done and I must say it was really nice to see a good turnout for the first throwdown. 11 beautifully painted troop choices. I'm happy to announce that this squad pulled it through for me and got voted as best painted for the night :). That's one notch for the Wildhost's Fists!! For the emperor and dorn!!!


I was having trouble figuring out how to put the 7th legion markings on the right shoulder pads. I wanted to have roman numerals of VII but the GW decals were impossible to put on and wasn't the correct size. I tried having '7' but its just didn't look nice. Until during a discussion with Jeff, he suggested using Sigismund's Black Templar cross to denote that they were from the 1st Chapter....brilliant idea!! I had already decided that Sigismund would the the preator for this army build so it just fits with the fluff.

Here's the sergeant with the templar cross on his right shoulder pads. I painted the inside half white and half yellow to denote him as the sergeant. Of course the red plumes also helps to easily identify him.
Am quite happy with how the sergeant model turned out. Nothing super special but he looks the part.
The worst looking fist of all haha. My heartiest thank yous and appreciation to everyone who voted for my Imperial Fists. You guys are the best. Onwards to the next throwdown!! 

Breacher squad upfront and center!!! Death to the traitors!!!!!